DIY 2022 Tacoma Tailgate seal
When I took delivery of my LP the first night I noticed I had a lot of dust in the bed. 6 months later and countless attempts to correct the issue I finally found the ESI tailgate seal. They have a bunch of makes and models available. I will say it is not 100% sealed and I’m sure it will never be but it is a solid 95% and I am happy with that.
Step by Step Overview
List of steps to complete this project:
- Clean the end of your bed
- Prep the end of your bed
- Apply seal
- Sit back and relax
Clean the end of your bed
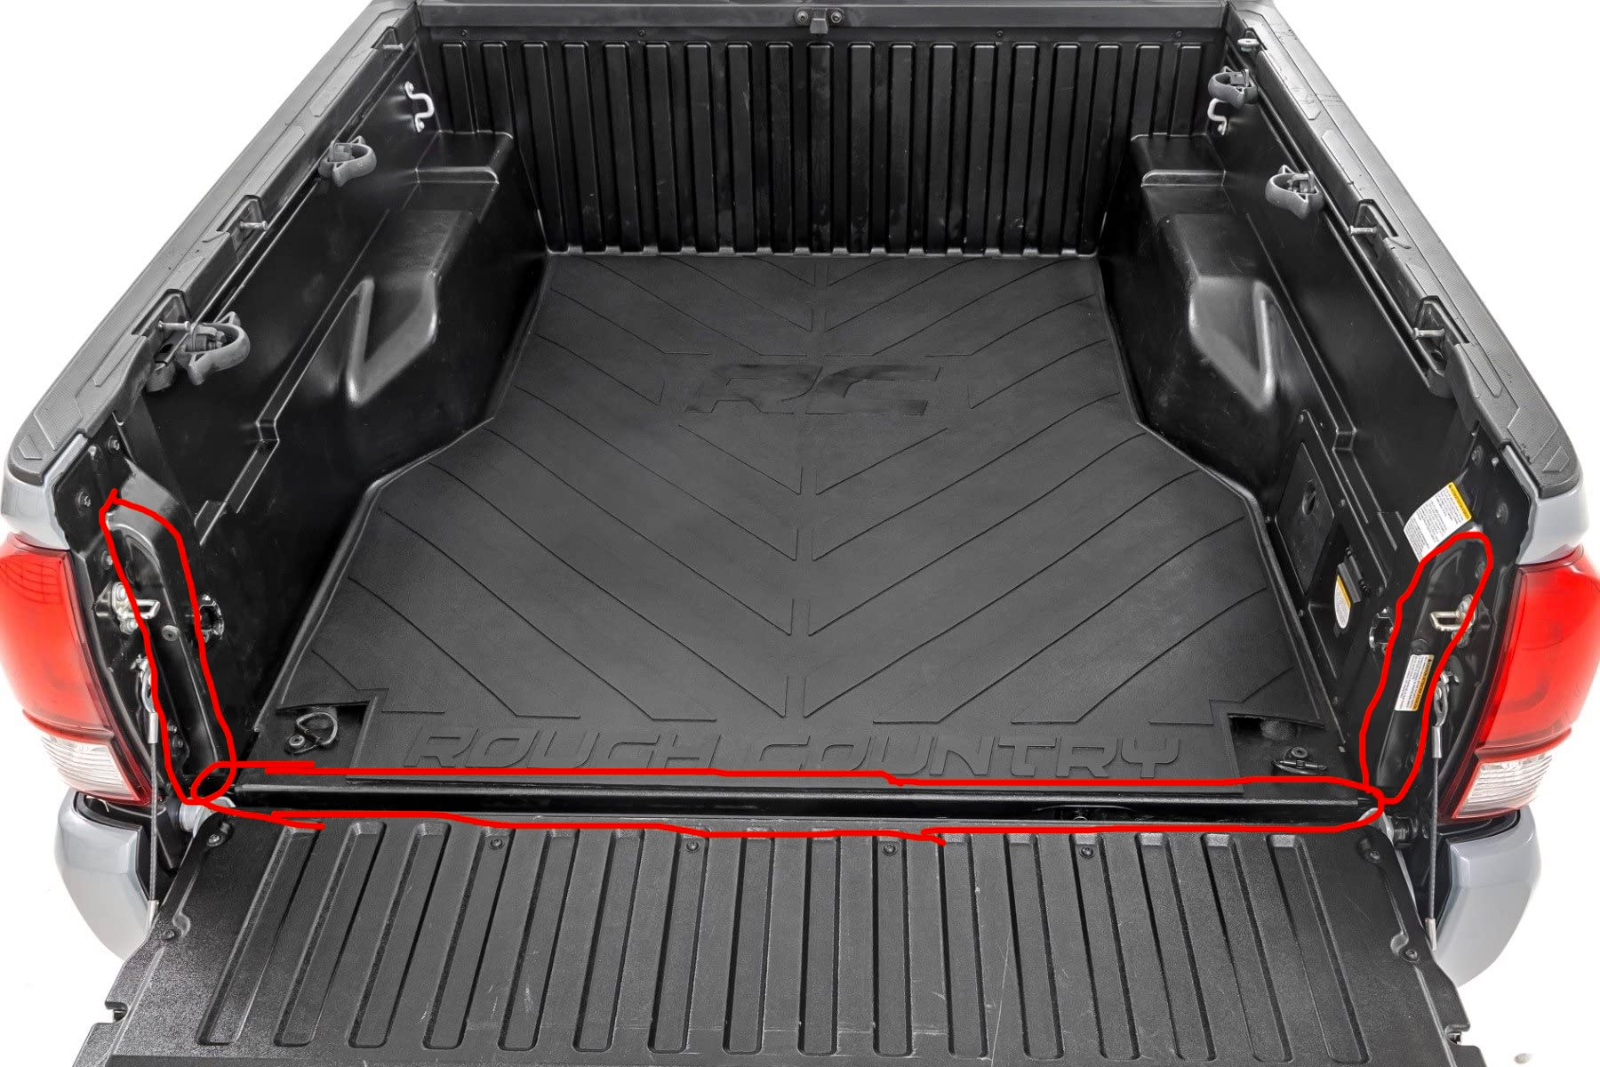
To clean my tailgate I used Dawn Powerwash and a stiff bristle brush. Get the ends of the bed (pictured and circled in red) nice and wet. Apply your dawn (or cleaner of choice) and SCRUB. Mine had years of dirt, mud, and god knows what else. I wanted to make sure it was as clean as possible. Allow your bed to fully air dry before continuing to step 2.
Prep the end of your bed
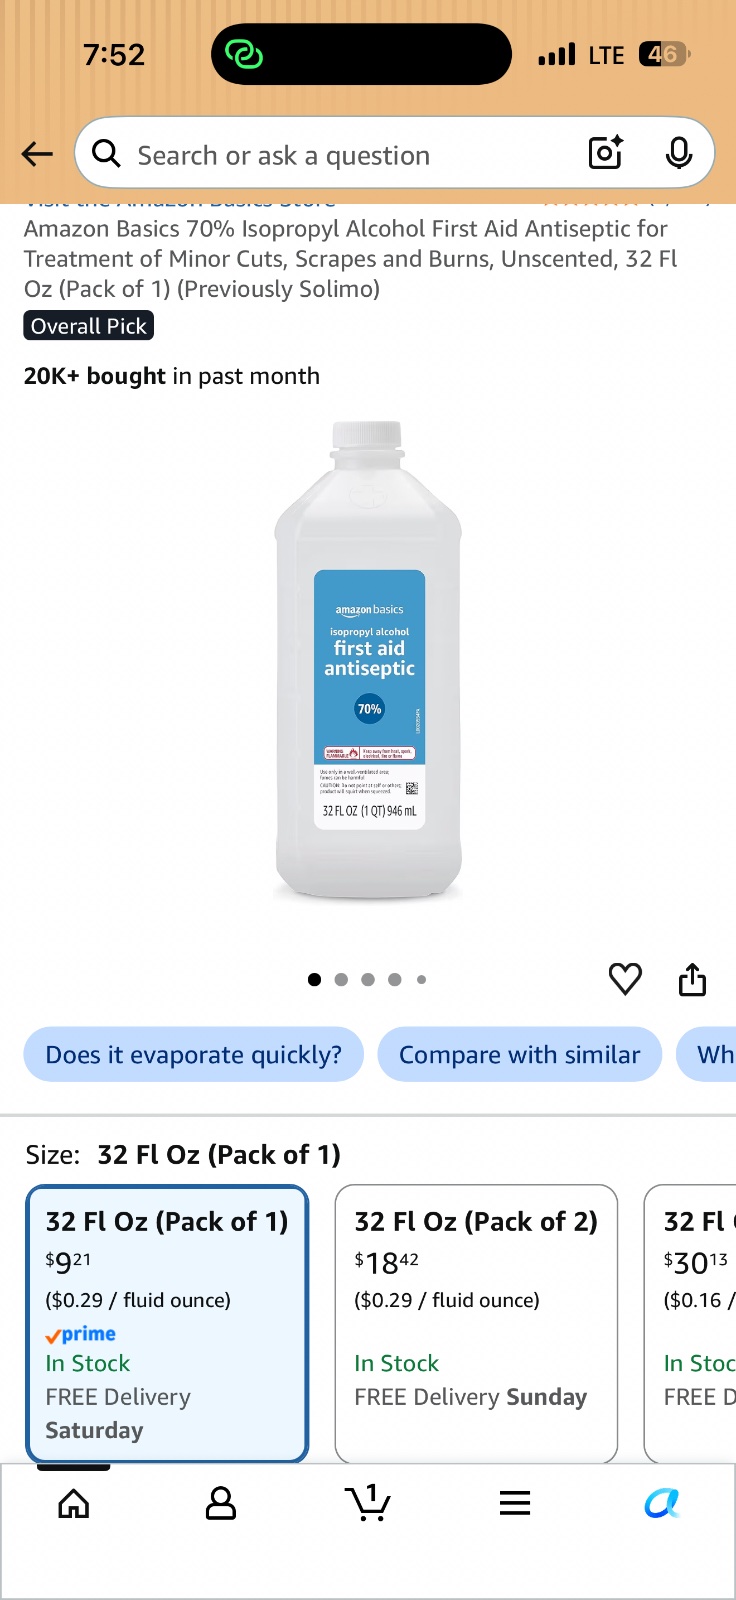
Once dry using a microfiber and isopropyl give the ends you just washed a good wipe down. Removing and final grime or grease that may have been left behind from your scrubbing. I do this twice to make sure it’s as good as possible.
Apply the seal
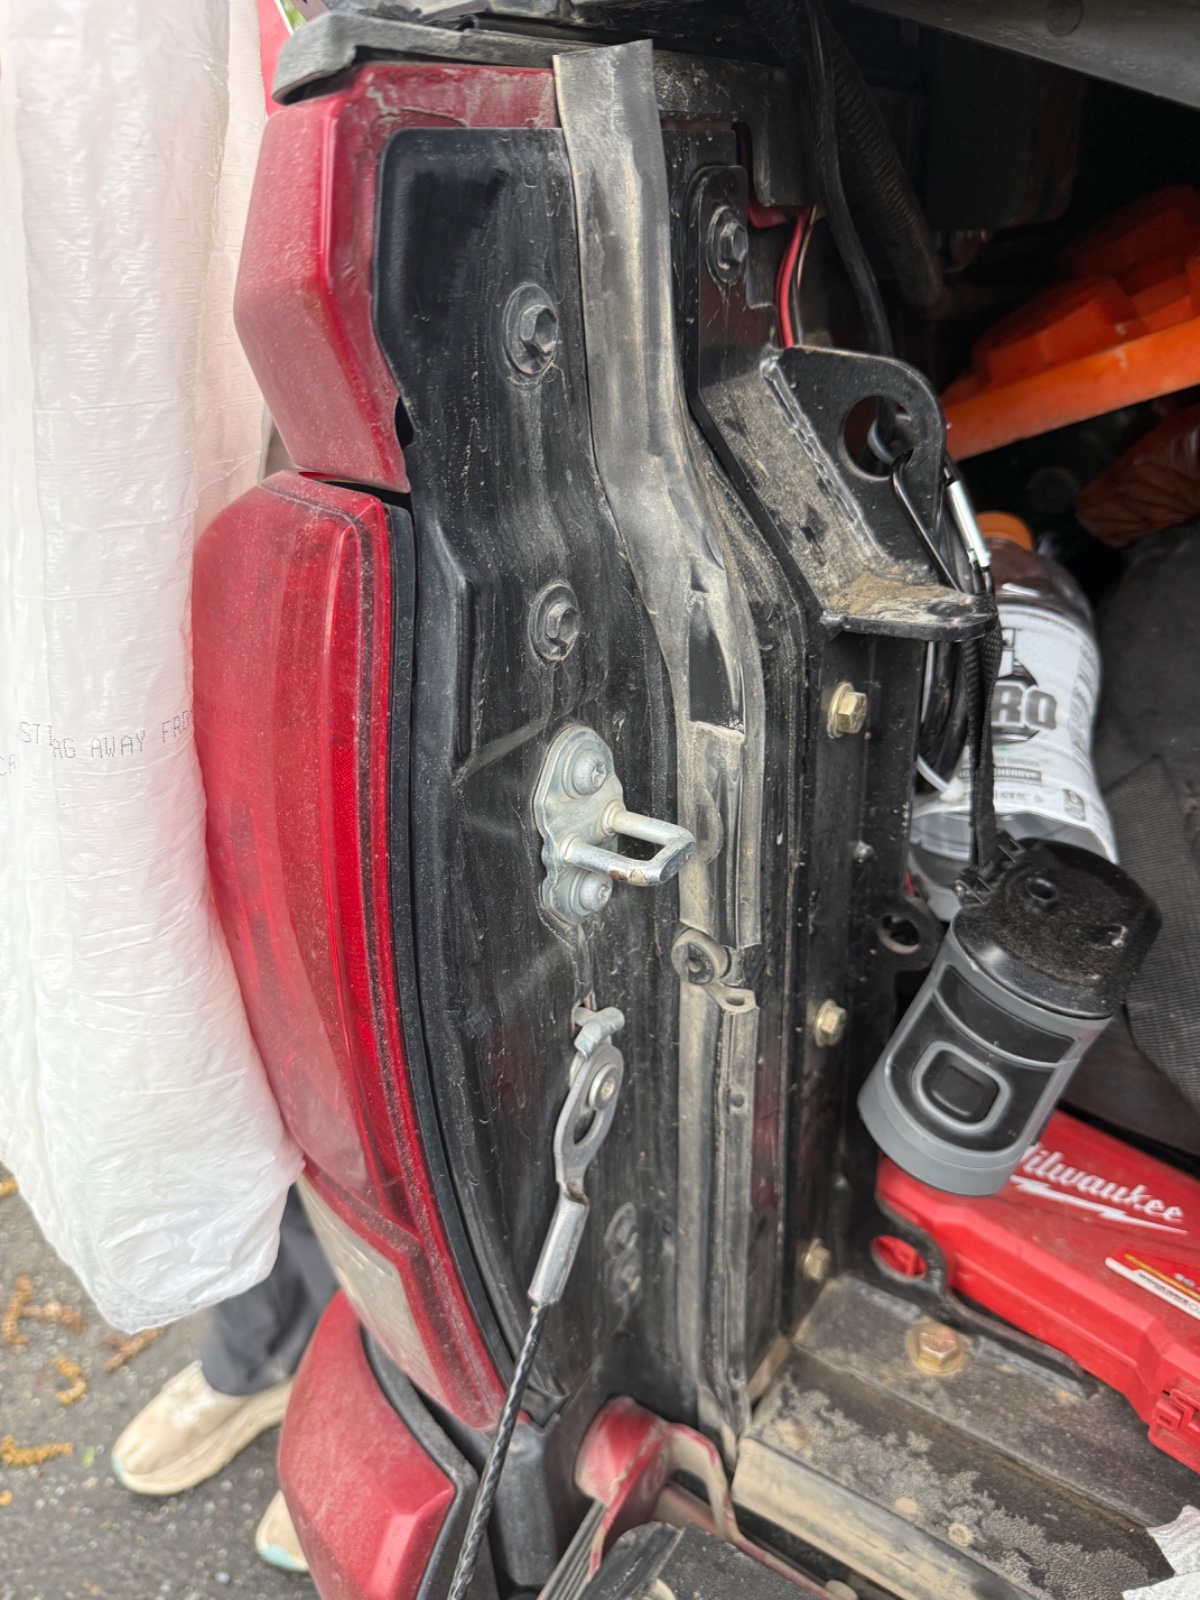
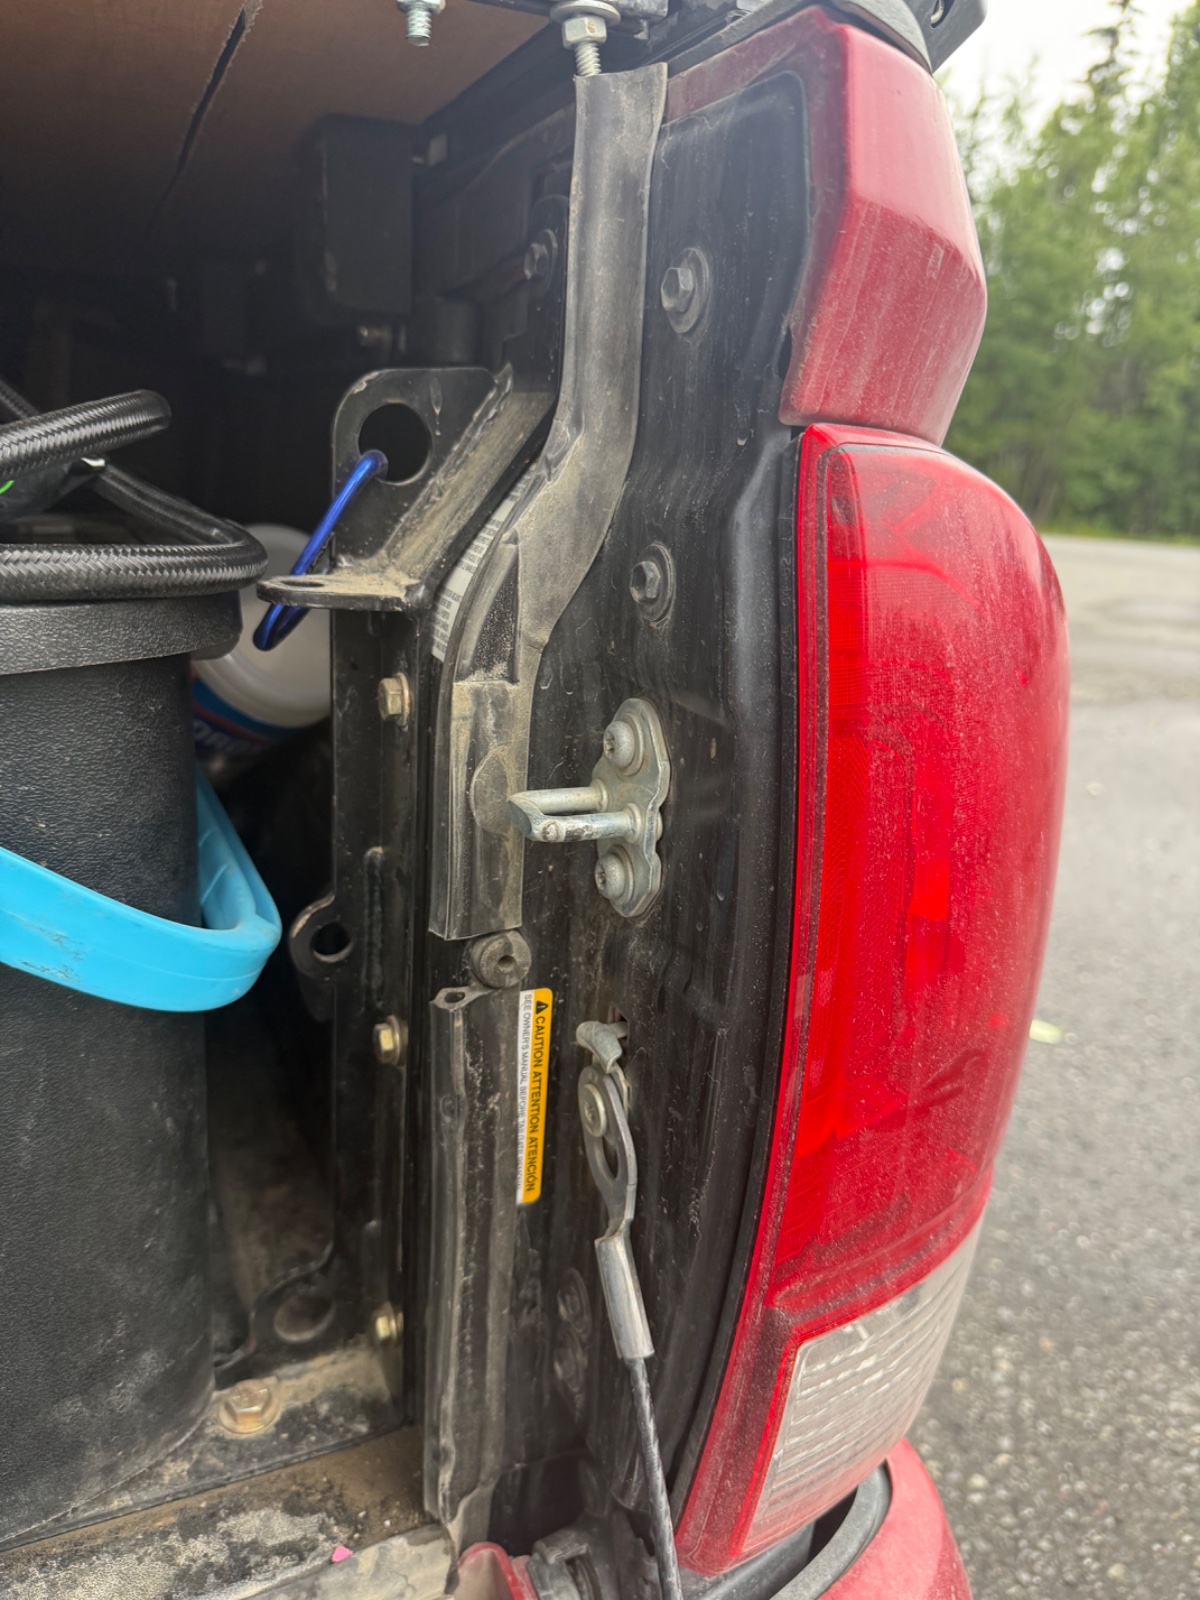
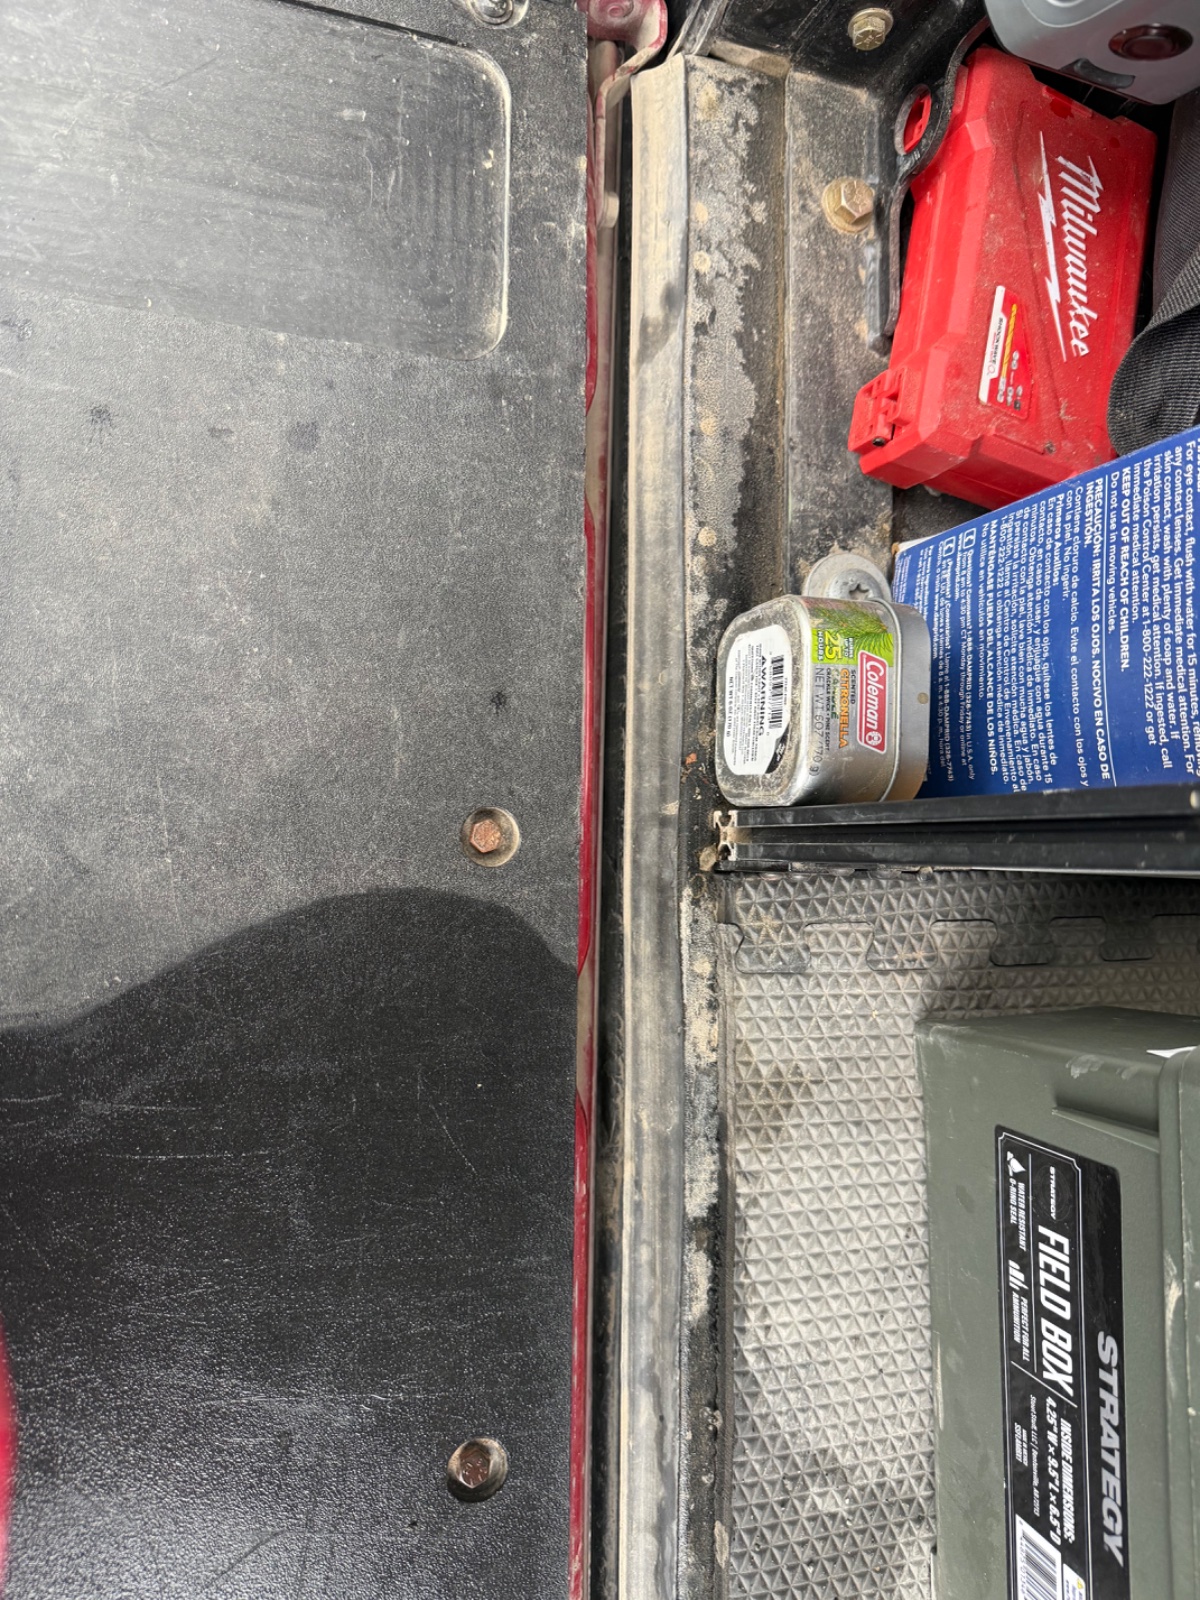
You will get 3 strip of seal in the package. 2 of them are for the sides, the third is for the bottom. For the sides the bulb part of the seals will face each other. And the bottom will face down. Starting on the sides: Start at the bottom and slowly work your way towards the rubber grommet. They will need to be cut at the appropriate length when you meet the grommet. Leaving you with the perfect amount from top of grommet to top of bed. Lightly hold the seal in place until you are happy and then apply pressure to the seal. If you need to try more than once do so BEFORE you apply pressure. From the grommet to the top of the bed follow the curvature of the bed. Repeat on opposite side. For the bottom piece: Start on whichever side you please and place the seal as close as possible to the one on the side wall. The tighter they are the better they will seal. Repeat exactly what you did for the sides applying minimum pressure until you are happy with placement of it. Then push firmly. You will have to trim this piece accordingly also. This was the trickiest one as the gap was relatively tight for my hands to fit into.
Sit back and relax
Once you are done the tailgate will be harder to seal than before. I closed mine like normal and pushed it shut the rest of the way. After a couple days it went back to almost normal. It has worked Amazon this far.
Discussion (3)